Assistive Tech for People.
Accessibility Tech for Business.
Simplify Personal Accessibility
with Cephable
Integrate Cephable to Make Digital
Products Better
Cephable opens a world of digital control for individuals and businesses alike.
Learn how Cephable supports individuals and the communities that support them.
Cephable for digital apps, delivering beyond compliance and driving revenue.
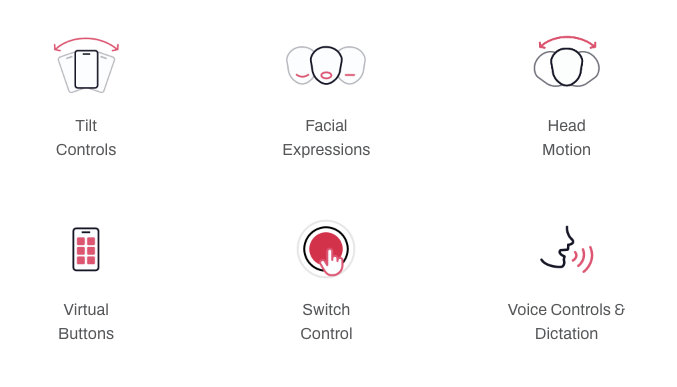
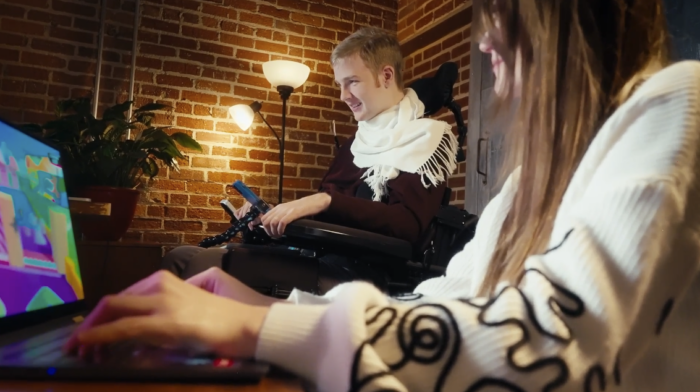
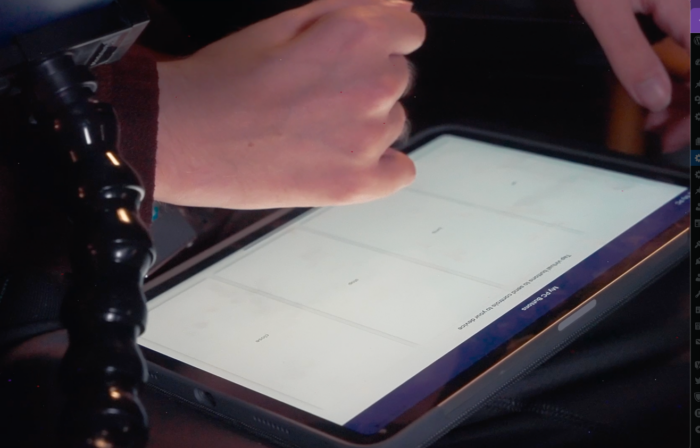
People Controlling Technology on Their Terms


Tilt
Controls

Virtual
Buttons

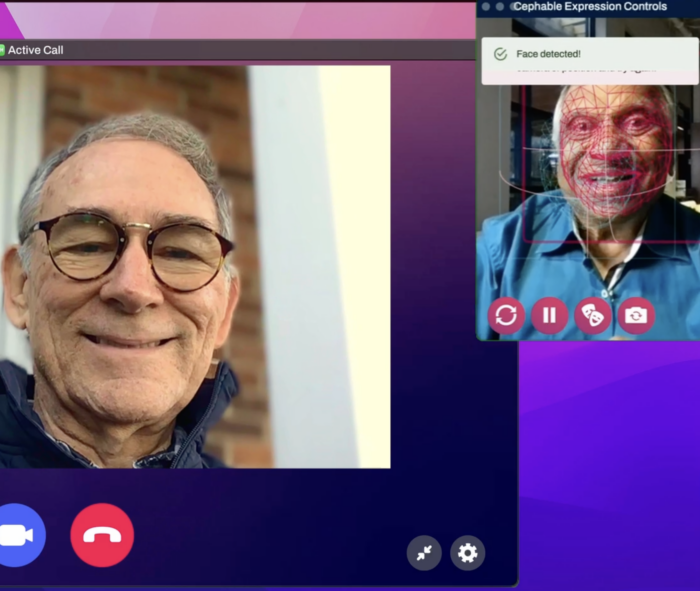
Facial
Expressions

Switch
Control

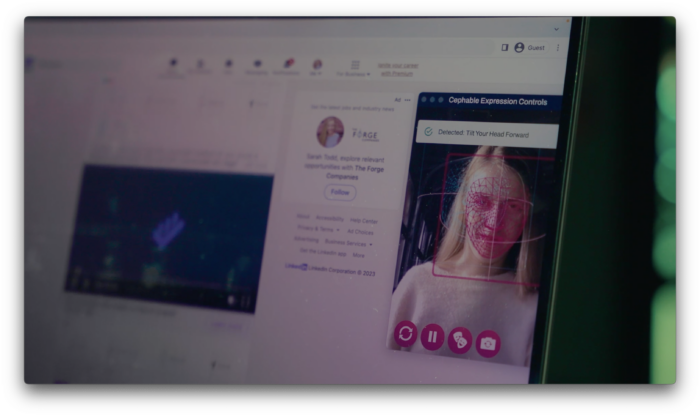
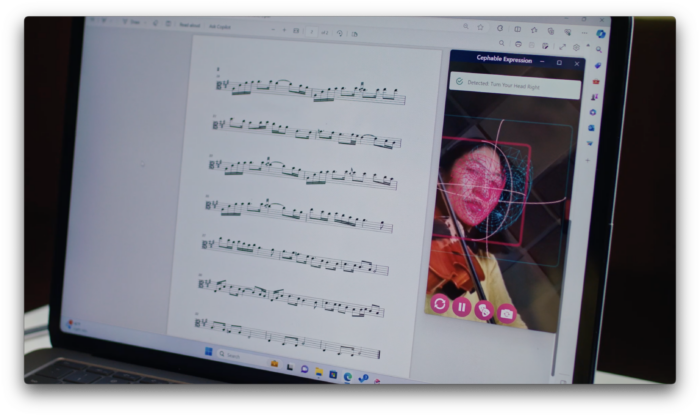
Head
Motion

Voice Controls & Dictation
Trusted by Brands You Know


Cephable turns any Capability into a Control
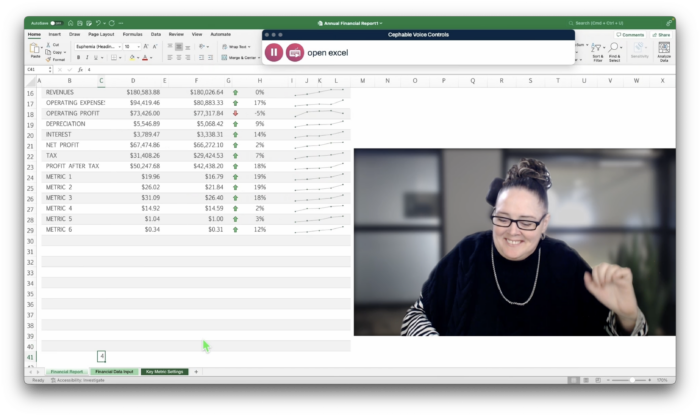
Adaptive Voice Controls

Dictation
Face Expressions
Head Movements
Body Gestures
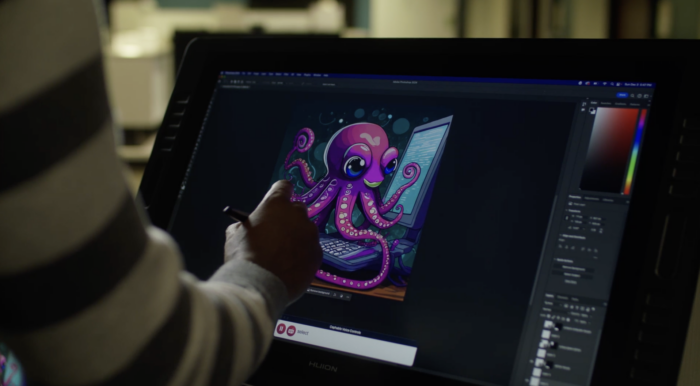
Innovative Integrations
Virtual Buttons
Phone/Tablet Sensors
Third Party Integrations

Keyboard Combos

Typed Phrases
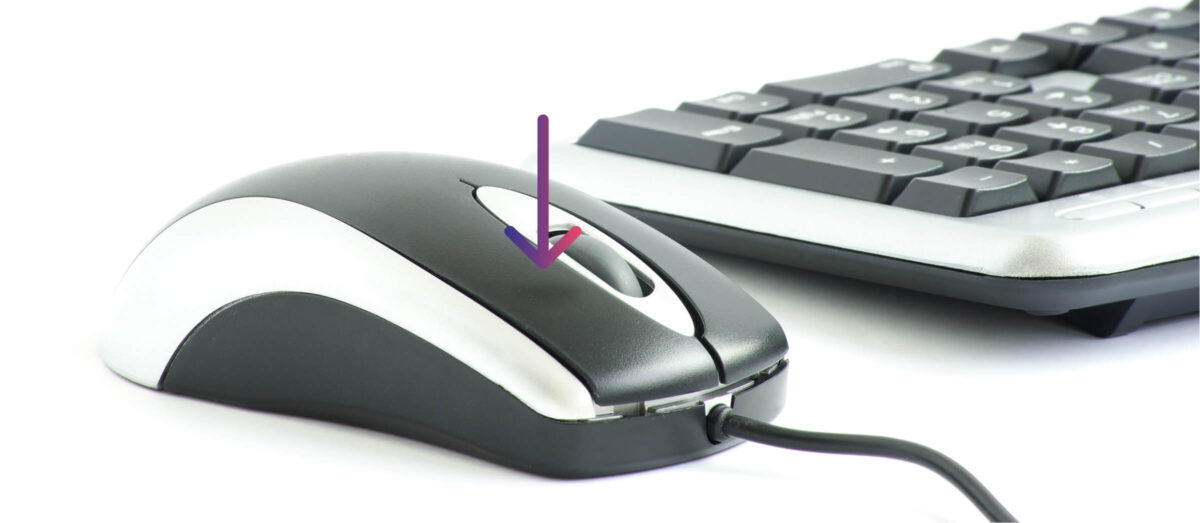
Mouse Clicks & Movement
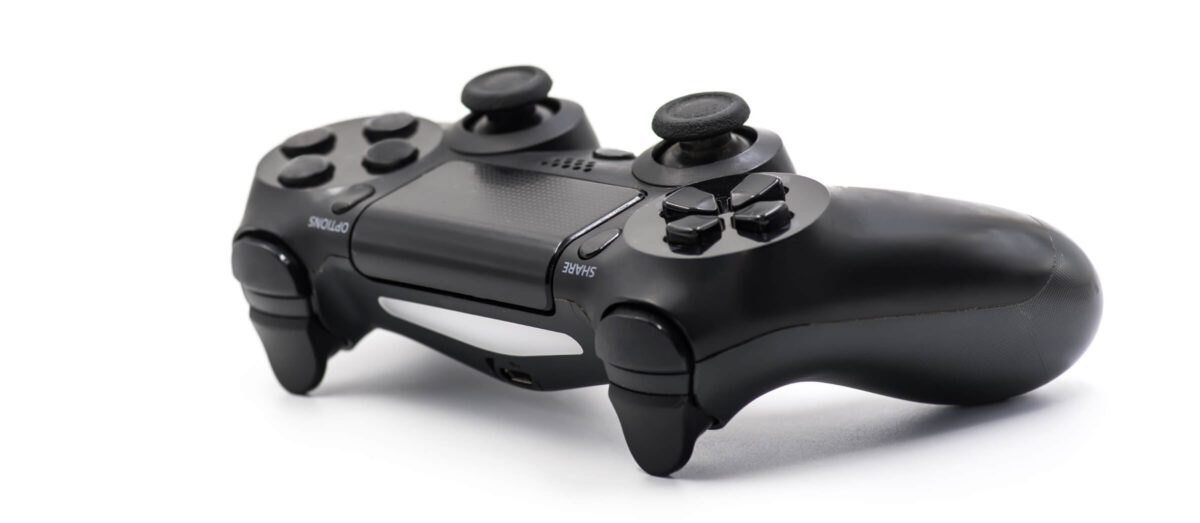
Gamepad & Video Game Controllers

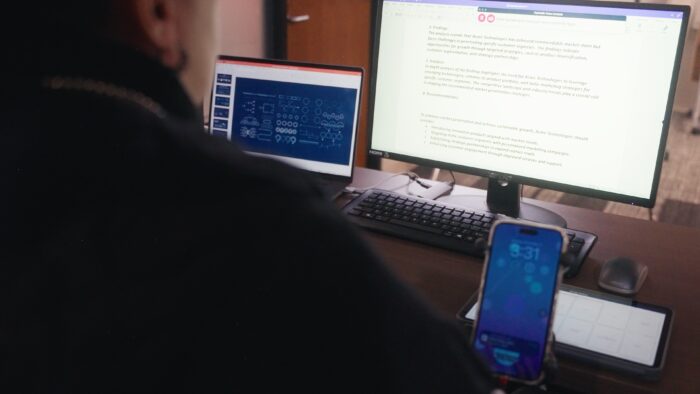
Productivity

Integrated Games & Apps